INTRODUCTION
This is to introduce the DCE Faxbox 3/30 as the new modem for use with UniFax, part of
UniComms on UniVision.
The Faxbox 3/30 supercedes the Worldport and Mistral ranges.
Faxbox 3/30 units must not be replaced by Worldport/Mistral units or
vice versa.
-
UNIFAX
UniFax is a facility that allows direct transmissions of a fax from the UniVision
system.
The product consists of UniVision resident software and the Intelligent Fax Modem
connected to a system port and to any phone socket. The phone socket does not have to be
on a dedicated outside line but may be on an internal system.
The fax modem used is a DCE Faxbox 3/30.
Features include-
- Auto configuration modem (it doesn’t need setting up) hardware box,
approx. 308 X 280 X 67 mm.
- Simple to interface with Merchant, allows a fax to be sent from any keyboard.
- Auto Dial / redial
- Group Transmissions
- Simple Line Graphics capability allowing customised logos.
- Priority Levels, enabling faxes to be sent automatically at certain times or at cheap
rate telephone times.
- Requires UniComms V 1.4 or above which is in UniVisions V 6.0.15 or later.
- Ability to transmit only
- Not compatible with Surefax
- Can only be connected to an RTC, RIO or I/08+ port.
- It cannot be connected to a Comm Port or MTS/MTA, or Jetstream.
- DCE FAXBOX 3/30
3.1 Front View
front lamps left to right
Host A red on when connected to active host
Host B red on when connected to active host
Power green on when power is to the unit
Active red on when sending
Line 2 red on when connected to active BT line
Line 1 red on when connected to active BT line
Do not use Function or Reset Buttons
3.2 MEC Identity FAXBOX-3/30
3.3 Current firmware revision F300 1.3
3.4 Rear View (on the next page)

-
SPECIFICATION
4.1 Telephony Interfaces PSTN Port
Full autodial (DTMF only) and selective auto-answer operation. Send and receive
MH/MR/MMR compressed data at all speeds up to 33,600 bps compatible with
V21/V27ter/V29/V33/V17/V34 super G3 & ITU-T Group 3 facsimile Error Correction Mode
(ECM). Auto speed select with auto fallback and force slow speed option. Carrier detect
threshold. International dial and busy tone detection. Inbound DTMF (not V34)/DDI*
decoding and Caller Display Services*, including CLI. Audible line monitor.
4.2 Data Interfaces
Host Port
Full duplex asynchronous data to 115,000 bps, compatible with V24 and RS232C, using
dual 9 way 'D' type connectors. Hardware or software flow control with true hardware flow
control option. Secondary application level software flow control. Fully transparent
protocol suitable for text, graphics and control functions.
Network Port
10 BaseT & 10/100 BaseT Ethernet network port, TCP/IP protocol stack with
support for Telnet configuration and user programmable application port. Inbound routing
of faxes to specified IP number. User programmable IP number, subnet mask and gateway
number.
Monitor printer
Parallel data compatible with IEEE 1284, using a type 'C' miniature 36 way
connector. Data format compatible with Epson 8 and 24 bit graphics printers.
4.3 Functionality
Code Conversion
Outgoing data are converted to compressed ITU-T Group 3 fax format from mixed
text and graphics input. Full international ASCII character set, with support for
additional optional sets. Compatible with LX800 features, including bold, underline,
italics etc. Selectable character and line spacing. Graphic logo merge or form overlay.
Automatic pagination to A4/unlimited. Coarse or fine resolution. Incoming data is
converted from compressed ITU-T Group 3 fax format to DCE standard T4 graphics for further
processing by the host.
General
Fax buffer memory expansible from 4MB to 32 MB. Program, fonts and logos in
flash memory, expansible to 8 MB. Graphics, logos and fonts may be updated during normal
operation. Front panel function switches and LED indicators to control and monitor host
and line activity. Real time clock on board.
4.4 Physical Characteristics
Dimensions
Desktop Model: 305x280x67mm
Rackmount: 1U slot height x 380mm deep for standard 19" rackmount chassis
Weight
Desktop Model: 4 kg approx.
Rackmount: 10 kg approx.
Operating Conditions
00C to 450C up to 95% relative humidity (non-condensing)
Power Supply
Mains supply: Universal input 90-240V~
Heat dissipation: 10 w/hr max
4.5 Approvals
FaxBox 3/30 complies with relevant international safety standards (including
EN41003, EN60950, UL, CE) * and holds national telecoms approvals inc. Euro TBR21 in an
ever increasing number of countries worldwide. For a current list, please contact DCE or
its distributors.
*Specifications may vary according to country of operation and local
PTT requirements.
-
CONFUSION ZONE
MentorFax/UniFax (pre 21st Century) uses Worldport
24+ or Palmtop, Mistral 24 or 144 modems.
New UniFax uses DCE Faxbox 3/30 with UniComms v1.4 in UniVision 6.0.15 or later
Ufax, used with Charisma uses MTL1432, MTL2834, FAXBOX 30 or FAXBOX2/30.
DO NOT SWAP OR MIX ANY OF THE ABOVE MODEMS BETWEEN THE THREE GROUPS
-
SEQUENCE FOR INSTALLATION
Action Responsibility
Ensure site preparation complete Sales/CSS
Receive faxbox from DCE GDC
Put RJ11 to BT adaptor with faxbox. Production/GDC
Put Cable Type JS with faxbox Production/GDC
Set speed from 115200 to 9600 Beauchief Hall
Load customer templates Beauchief Hall
Deliver to customer GDC
Install on customer site Field Service
-
SITE PREPARATION
Customer Service
Supervisors are to ascertain the following:
Whether tone or pulse dialing is in use.
Whether a prefix is necessary,
If yes, what is it.
If prefix is necessary, is a pause required after the prefix.
Position of the mains socket.
The position of the telephone jack point, is it standard BT LJU?
What type of system port connection is required; RTC, RIO, I/08+ etc
together with the interface cable length.
RTC to Faxbox 3/30 Cable type JS
RIO to Faxbox 3/30 Cable type JS
I/08+ to Faxbox 3/30 Cable type JS
Comm port to Faxbox 3/30 Cable type JX – for set up purposes only
VDU to Faxbox 3/30 Cable type JY – for set up purposes only
- PRE INSTALLATION
The Faxboxes BT connection is an RJ11 to RJ11 cable only so an RJ11 to BT adaptor is
required.
This is available from Farnell page 878 RJ11/BT Plug Adaptor 446-622 at cost of �4.50The
Faxbox 3/30 is supplied from DCE (the manufacturer) with its serial port set to a speed of
155200. The first thing that must happen is that the port must be set to 9600, this can be
done using a compatible VDU or PC. If using a PC then DCE software is required, which is
available from Technical Services at Linford Wood. Set the PC or VDU port to 115200, and
use the following commands to reset the speed to 9600.
^p (shifted 6 then a lower case p) to enter setups.
Faxbox 3 –Setup OK is the faxbox response.
HBD=O (all upper case, including alpha O) to set the speed to 9600
OK is the faxbox response.
SAV=Y to save the setting
OK is the faxbox response.
^t (shifted 6 then a lower case t) to exit setups.
Exiting setup is the faxbox response.
Other commands
^v (shifted 6 then a lower case v) to display setups.
F300 FAXBOX 3: F300 1.3 FAXBOX 3 is the faxbox response.
^V (shifted 6 then an upper case V to display setups.
F300 FAXBOX 3: R288F DCE is the faxbox response.
Customer customised templates can be used, and at present these will be loaded prior to
install by Roy Leigh’s department at Beauchief Hall (Shane Whinfrey)
The faxbox is to be tested.
Ensure that the UniFax software is loaded onto the system. (Refer to O.S. Support for
advice if necessary).
Ensure the port is set for 9600, 8, NONE,
Check the fax set up on system. (Para 10. As necessary).
Send a test fax to a working fax machine, using both the 80 and 132
column modes. (See para 11).
Check that the test transmissions have been correctly received.
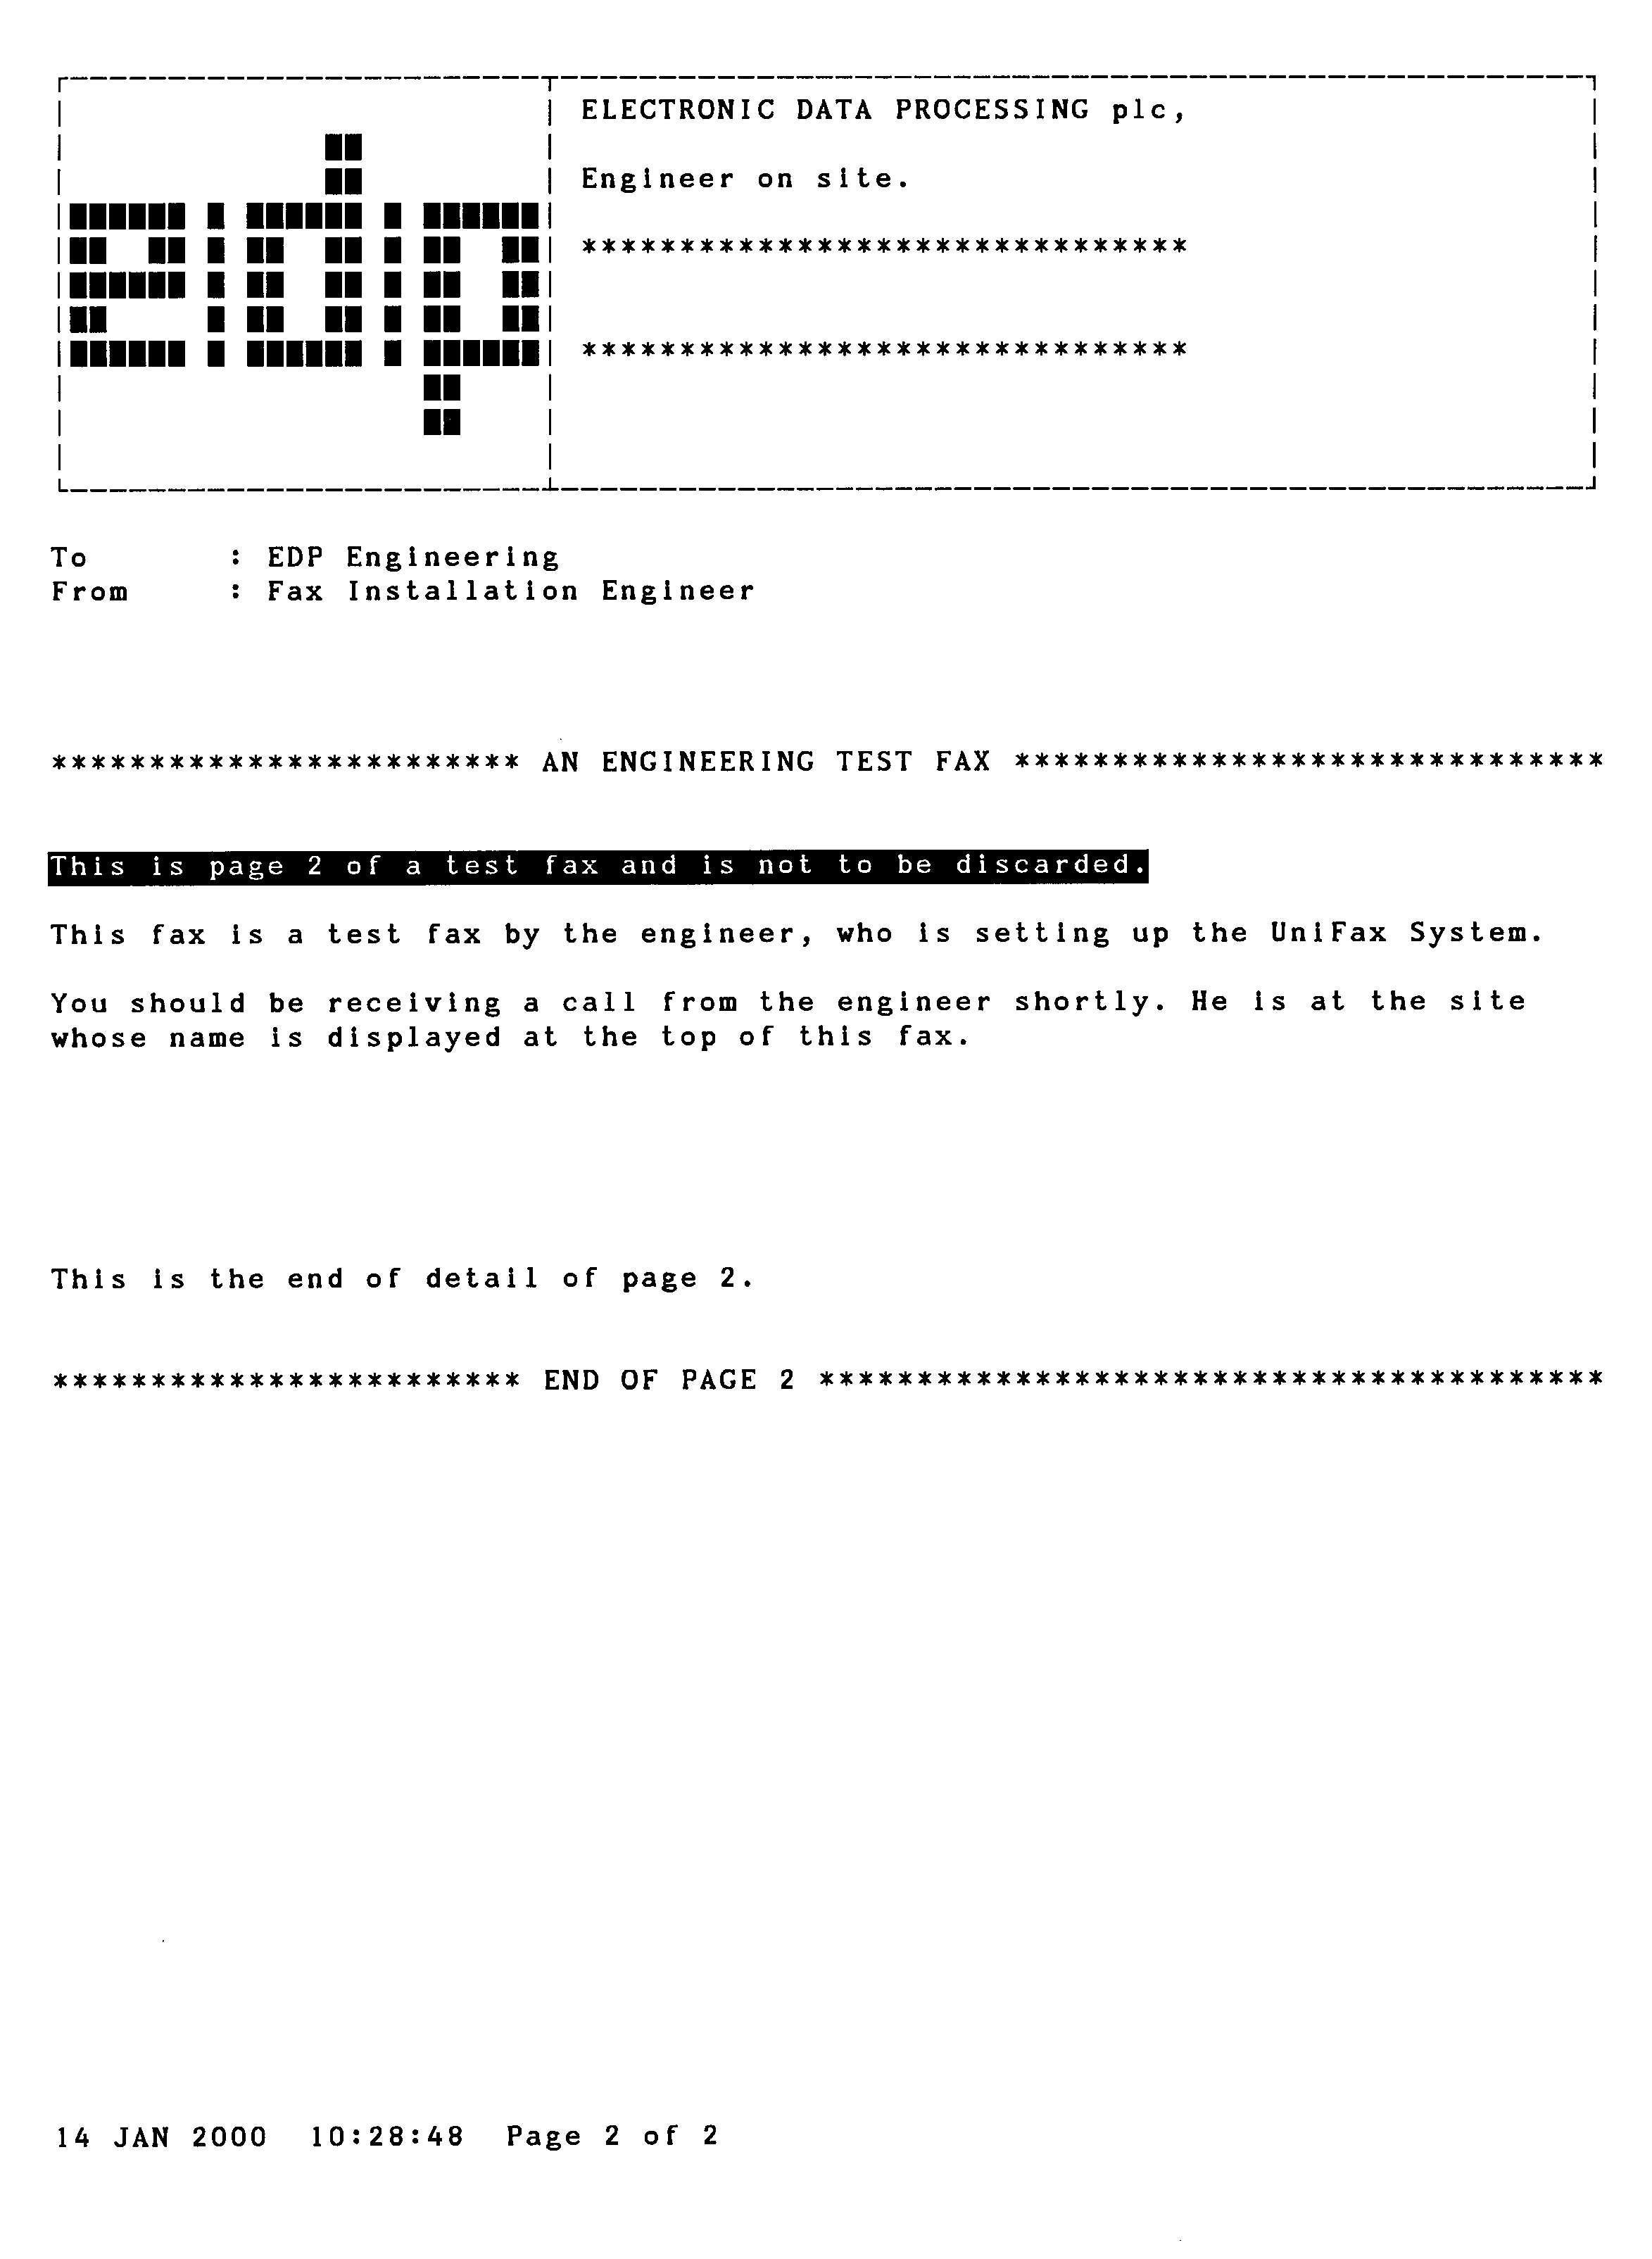
A sample test fax is shown on pages 9 & 10.
Recording Action
Complete all documentation
-
ON SITE HARDWARE INSTALLATION
Test that the phone line works
by using a telephone.
Unpack the DCE FAXBOX 3/30 UniFax.
Connect the BT lead between the telephone jack and the Faxbox, using
the lead and adaptor.
Connect the Faxbox to cable type JS, and then connect the cable to the
system.
Ensure the port is set to 9600 NP.
Switch the power on and check that the power LED lights.
-
ON SITE FAX SET UP
This will only enable the UniFax facility.
At logon prompt Enter FAX <CR>
At > Enter FMENU
From the Main Menu select the FILE MAINTENANCE option.
Use 8 and 2 on the numeric keypad to move the cursor.
From the menu select the PORT MAINTENANCE option.
| The system will display: |
Enter: |
| 1) Port Number |
port number
or ESC to exit |
| 2) Connection Type |
FX |
| 3) Baud rate |
(no entry) <CR> |
| 4) Modem type |
DCE 8700 |
| 5) Hang up call type |
<CR> |
| 6) Dial type |
T or D Tone or Dial |
| 7) Speaker setting |
setting 0 to 2 |
| 8) Exchange prefix |
prefix or <CR> |
| 9) Pause after prefix |
Y or N or <CR> |
| Prompt:
OPTION |
Enter Y |
From the FILE MAINTENANCE MENU select the CONFIGURATION MAINTENANCE
option.
| The system will display: |
Enter: |
| 1) Auto journal print |
Y |
| 2) Print Queue Fax Journal |
Printer queue no. |
| 3) Max Journal entries before print |
50 |
| 4) Transmission failure limit |
3 |
Prompt: OPTION Enter number (1-4) to change option
Y to accept
ESC to exit.
Configure as necessary.
From the Main menu select the FAX BOX CONTROLLER option.
From the displayed menu select START FAXBOX CONTROLLER.
The system will prompt CONFIRM Enter either Y or N.
From the Menu select the MONITOR FAX BOX option.
Ensure that the UniFax port is set to 9600, 8, NONE.
ON SITE MENTORFAX TEST
From the main menu select the SEND FAX option.
The system will be display: Enter:
| 1) Filename |
COMMS, FAXES |
| 2) Item |
ENG.TEST |
| 3) Format |
D |
| 4) Supress item id |
| 5) Supress line number |
| 6) Font |
0 |
| *** 7) Compression |
Y or N
(Y = 132 N = 80) |
| 8) Group |
<CR> |
| 9) Destination |
<CR> |
| **10) Fax number |
number |
| 11) Priority |
0 |
| 12) B/g Item |
ENG.LOGO |
| 13) On first page |
Y |
| 14)On remaining pages |
Y |
| 15) Retain hold file |
N |
NOTE *** Send 2 test faxes, one with and one without compression.
NOTE*** n = the number of the fax machine to which the test is being sent.
(The Test Fax should be sent to an Area Office or other working fax
machine as designated by the Production Manager or Area Supervisor).
NOTE ENG. TEST is 2 pages with standard heading and logo. Sample on pages 9 & 10.
The system will Prompt OPTION Enter Y to send fax.
Then Enter ESC to exit.
From the Main Menu select the FAX BOX CONTROLLER option.
Monitor controller to view it processing the test fax.
The display will be updated periodically.
From the Main Menu select the JOURNAL AND QUEUE MONITOR option.
From the Main menu select the QUEUE MANAGEMENT option.
Selected test item should be highlighted.
NOTE that the display is a snapshot, and is not updated.
When the queue indicates that both test faxes have been sent, contact
the remote site and check that they have been received correctly. Samples shown on page 9
and 10.
UniFax has now be installed and tested.
Recording Action
Complete all relevant documentation.